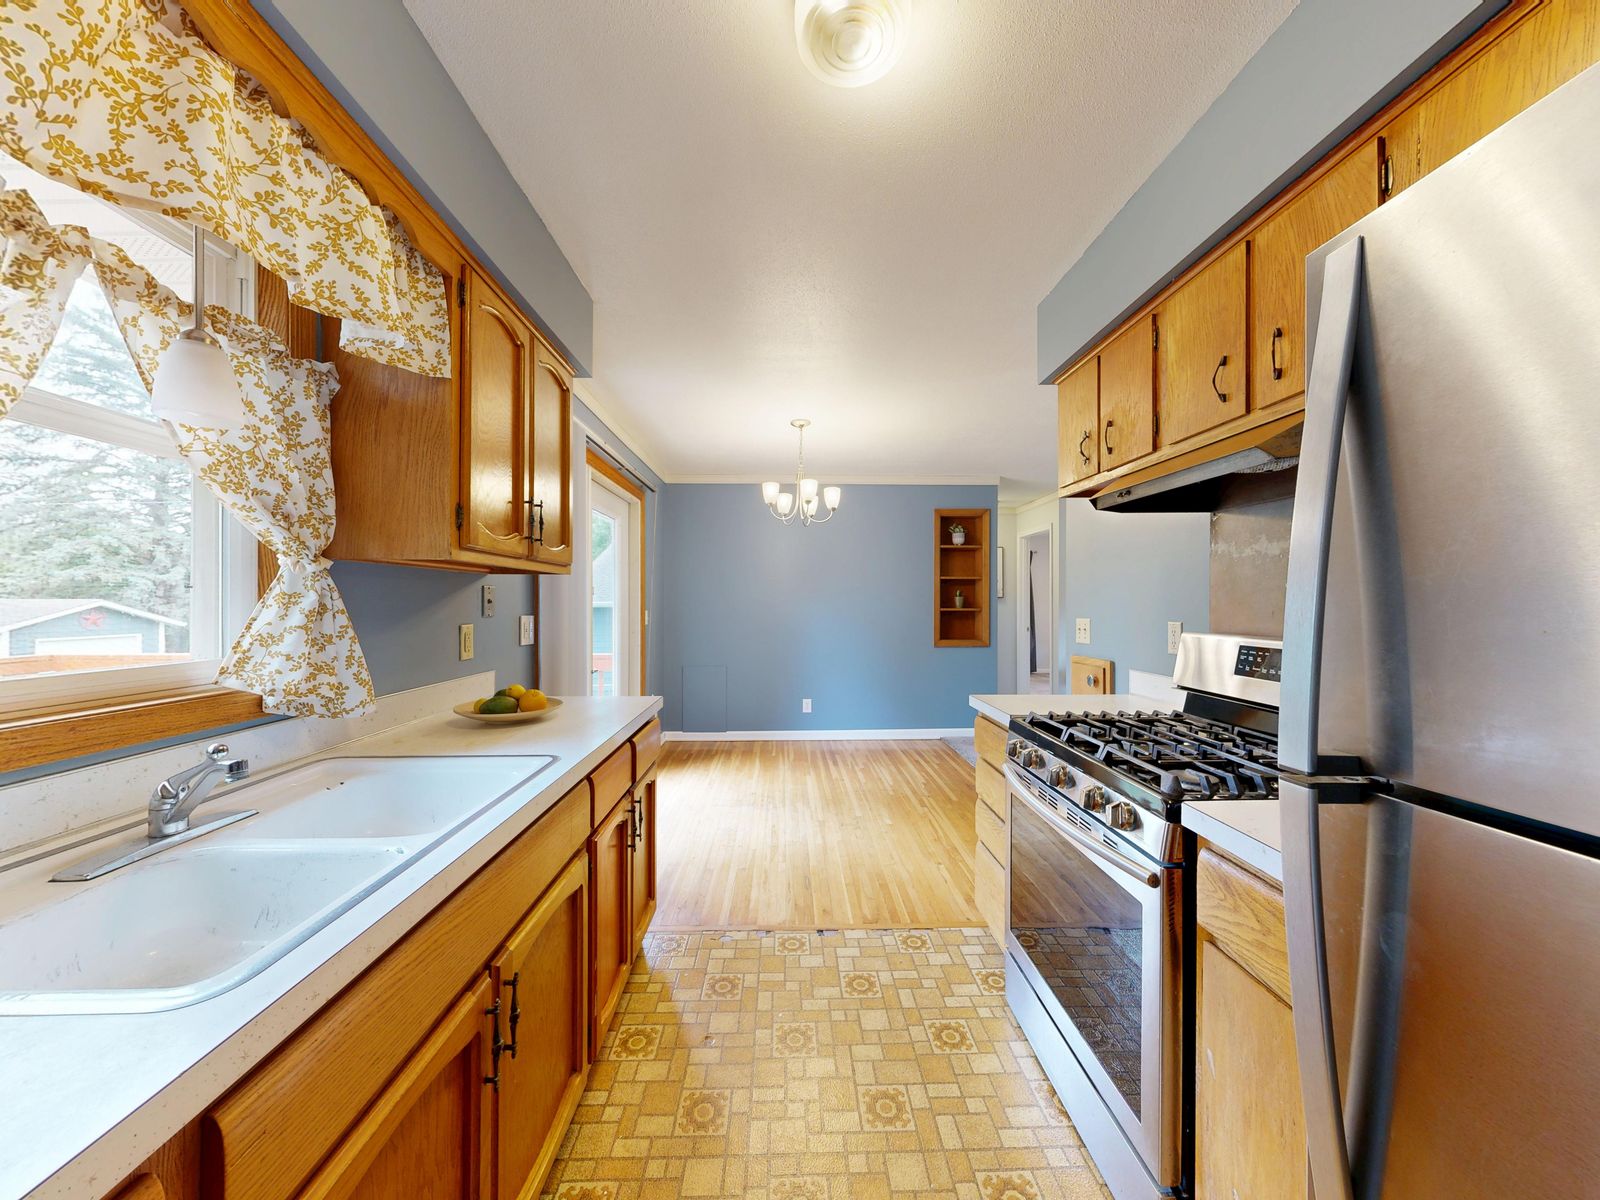
VISIT PREP — REFERENCE PHOTO: GALLEY KITCHEN, TIMBER CABINETRY, SINK UNDER WINDOW
Home / Kitchen Planning Notes / Visit Prep
PLANNING NOTE — VISIT PREP
PREPARING FOR YOUR FREE MEASUREMENT VISIT.
Every made-to-measure kitchen starts with a free measurement visit. A Kitchen Atelier designer measures the room and talks through layout, style and materials with you. Have five things ready and that conversation goes straight to the decisions that matter.
PART A — WHY PREPARE
A
THE TAPE MEASURE GIVES US THE ROOM. YOUR NOTES GIVE US THE KITCHEN.
The designer takes exact measurements on the day, so nothing you bring needs to be precise. What helps is context: how you use the kitchen now, what frustrates you, what you want to keep and what you would happily lose. A few photos and a rough list turn a general chat into a working brief. That brief is what the 3D design is drawn from.
PART B — CHECKLIST
WHAT TO HAVE READY.
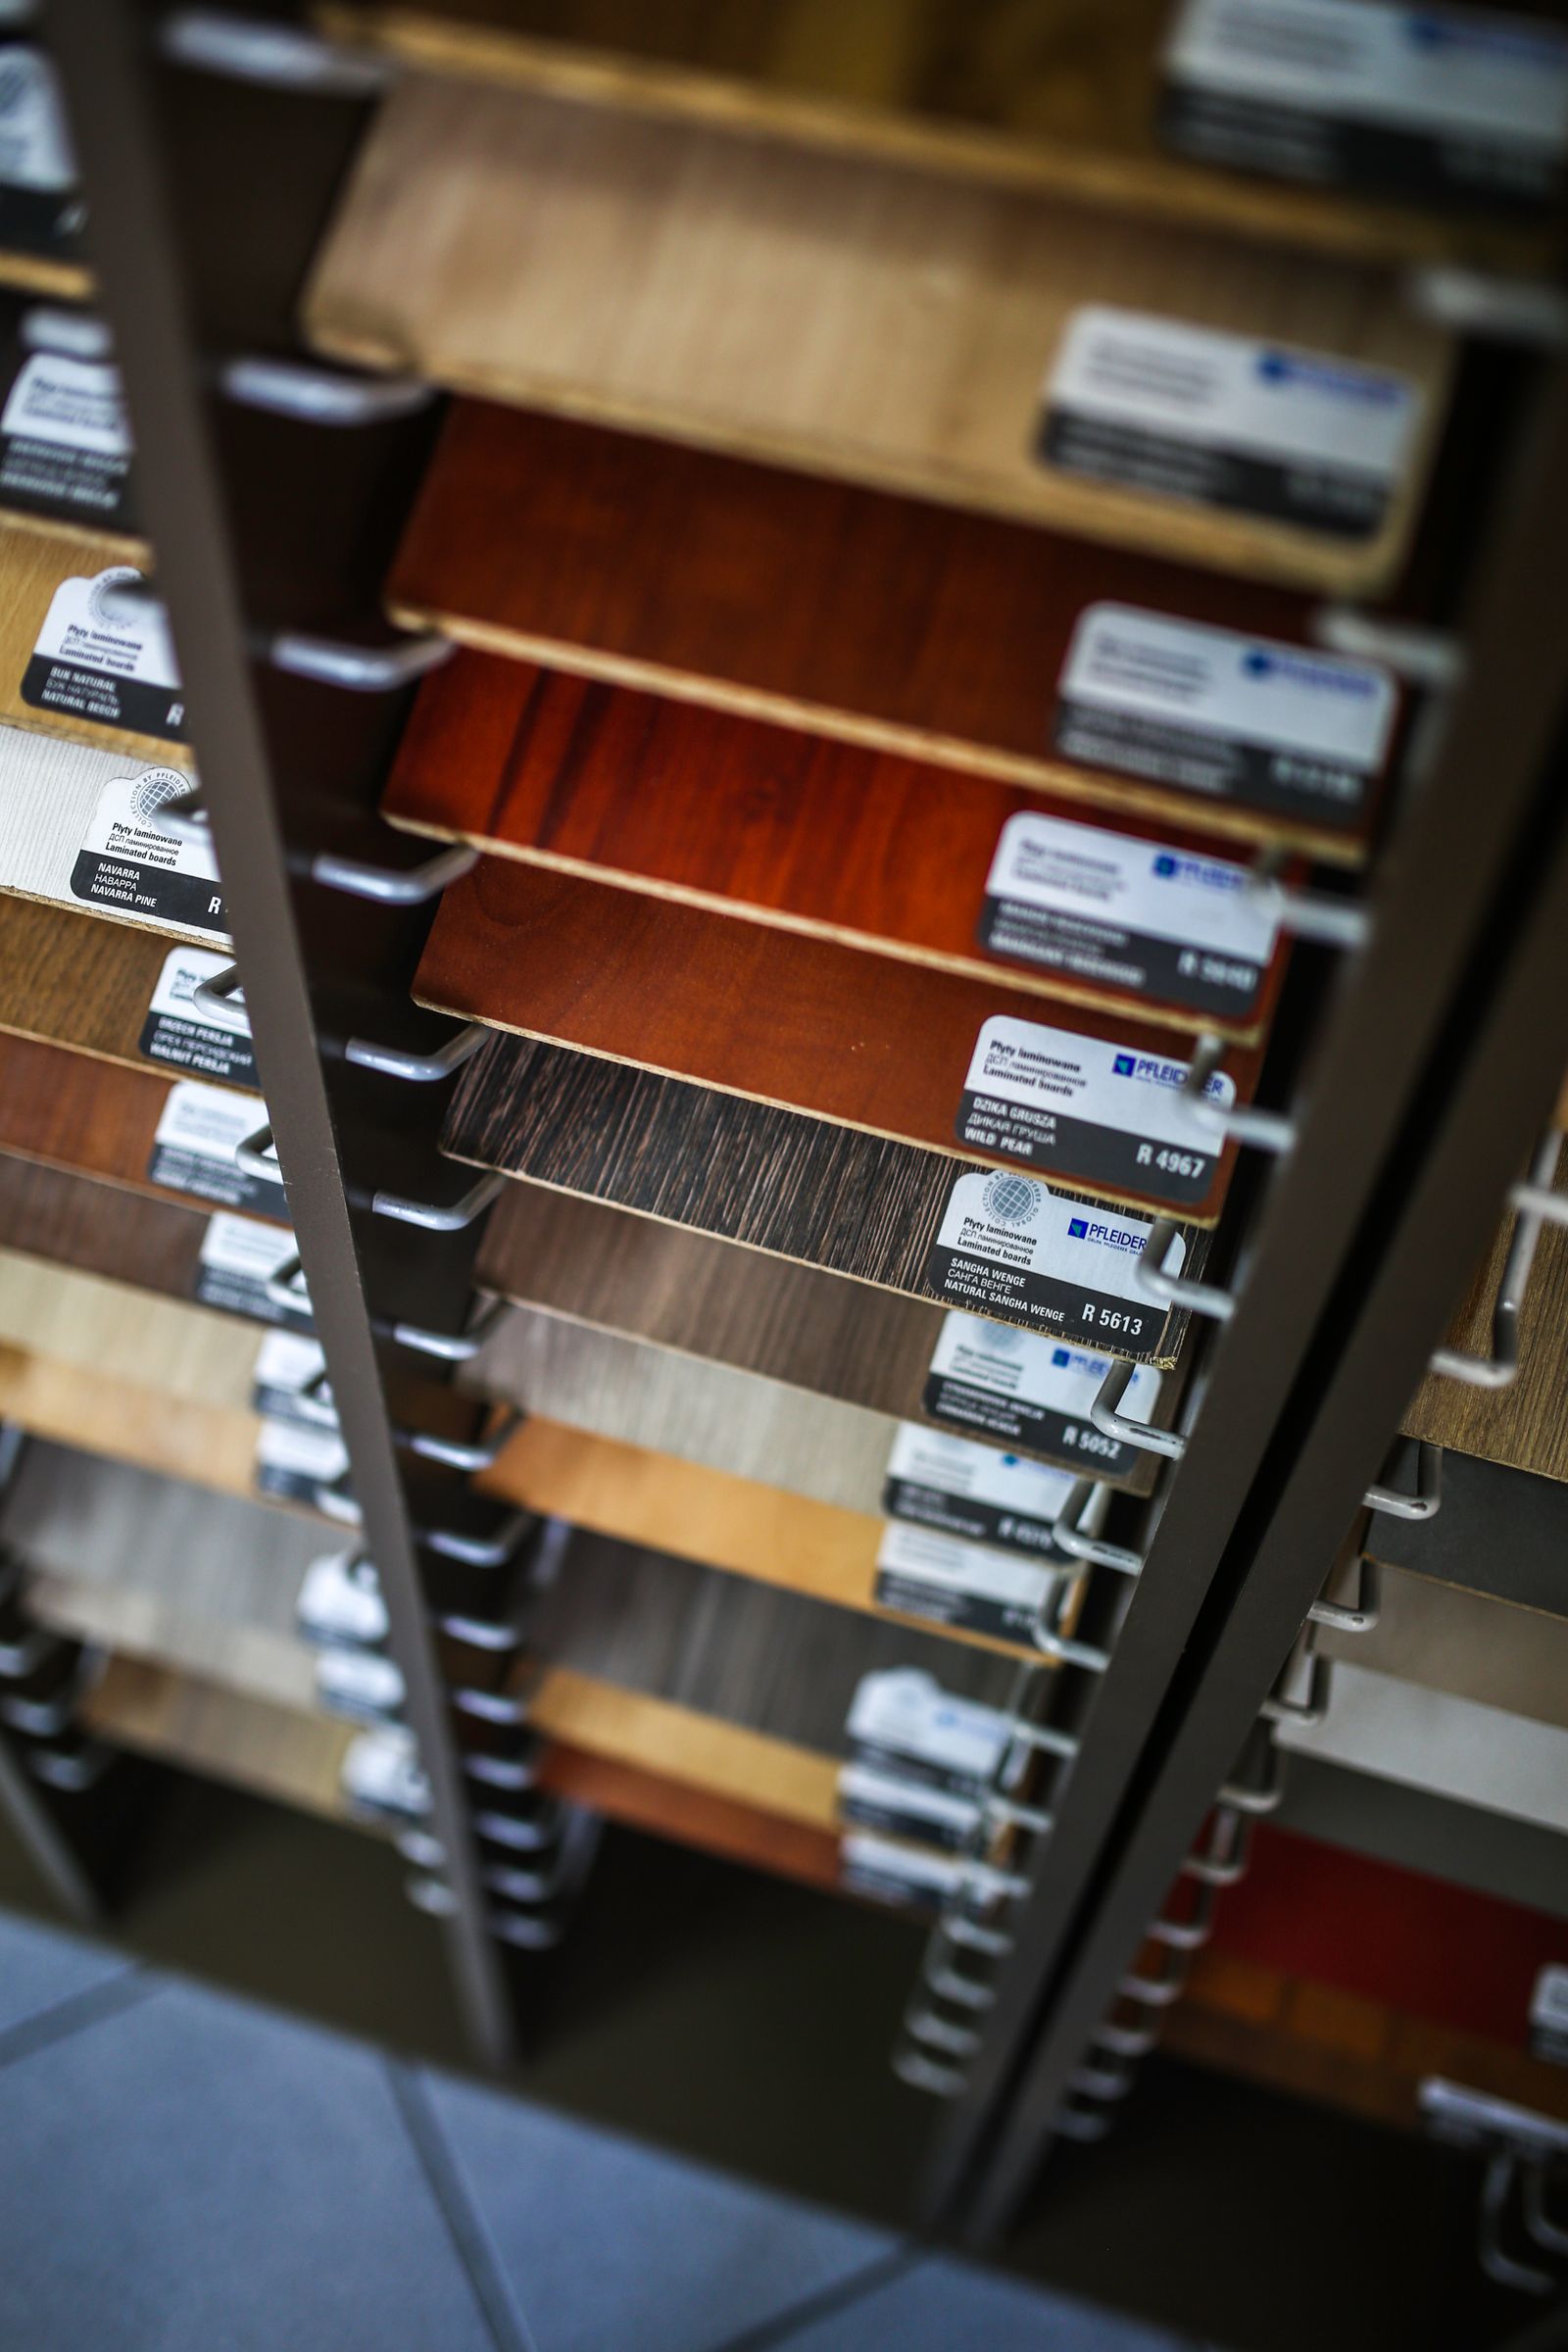
PART B — REFERENCE PHOTO: LAMINATE AND WOOD-FINISH SAMPLE BOARDS
01 / 05
PHOTOS OF YOUR CURRENT KITCHEN
Shoot each wall straight on, then the corners, the ceiling line and any window or door that interrupts a run of cabinets. Add close-ups of plumbing, power points and anything you already know is a problem. Photos let the designer check details after the visit without guessing.
02 / 05
ROUGH WALL LENGTHS
A household tape and a sketch on paper are enough. Note each wall, where the windows and doors sit, and the ceiling height if you can reach it. Length is one of the factors that shapes the estimate, so a rough figure lets you start thinking about layout before the designer confirms the exact numbers.
03 / 05
AN APPLIANCE LIST
Write down what stays, what goes and what you plan to buy: fridge, oven, cooktop, rangehood, dishwasher and anything built in. Add model numbers or dimensions where you have them. Appliances set cabinet sizes and feed into the estimate, so this list saves a second conversation.
04 / 05
STYLE PREFERENCES
Collect a handful of images you like and, just as useful, a few you don’t. It also helps to know which of our five styles feels closest: Modern, Classic, Scandinavian, Loft or Neoclassical. Unsure? That is fine too. The designer can work it out with you.
05 / 05
MATERIAL SAMPLES YOU LIKE
A timber offcut, a tile, a handle, a photo of a benchtop edge: anything that shows the colour and texture you have in mind. We work in wood, stone and metal, and your samples give the designer a starting point for choosing fronts, benchtops and hardware.
PART C — WHAT HAPPENS NEXT
FROM YOUR NOTES TO THE DRAWING.
Measurement is the first of six stages. Each item on your checklist feeds one of the first three: measurement, 3D design and approval.
YOUR ITEM
PHOTOS OF YOUR CURRENT KITCHEN
ROUGH WALL LENGTHS
AN APPLIANCE LIST
STYLE PREFERENCES
MATERIAL SAMPLES YOU LIKE
ALL FIVE, ON ONE SHEET
WHAT IT FEEDS
PHOTOS → MEASUREMENT
The designer confirms exact dimensions and checks details against your photos instead of guessing.
WALL LENGTHS → MEASUREMENT
Layout options narrow here: straight, L-shaped, U-shaped or with an island. Length also shapes the estimate.
APPLIANCES → 3D DESIGN
Appliances set cabinet sizes, so the list fixes the structure of the drawing and feeds the estimate.
STYLE → 3D DESIGN
The images you like, and the ones you don’t, set the look the drawing is built around.
SAMPLES → 3D DESIGN
Colour and texture give a starting point for fronts, benchtop and hardware in wood, stone and metal.
ALL FIVE → APPROVAL
You review the design and change what isn’t right. Clear notes mean fewer rounds before production in our workshop.
PART D — BEFORE THE DAY
FOUR QUESTIONS TO SIT WITH BEFORE THE VISIT.
You don’t need answers yet. A first opinion on each gives the designer something to test against the room.
01 WHICH LAYOUT SUITS THE ROOM?
L-Shaped or Island: Choosing Your Kitchen Layout →
02 WHICH STYLE FEELS LIKE YOUR HOME?
Choosing a Kitchen Style for Your Home →
03 HOW SHOULD WOOD, STONE AND METAL MEET?
Wood, Stone and Metal: Pairing Kitchen Materials →
04 WHAT MOVES THE ESTIMATE?
What Sets a Kitchen Estimate →
PART E — BOOK
BOOK THE FREE VISIT.
Have all five things ready, or start with just the photos. Everything else can be worked through with a Kitchen Atelier designer on the day, in St Kilda homes and across the areas we work in.